Why Your Presets Aren't Working: Unraveling the Mystery

Have you ever purchased a preset from a photographer you admire, only to find it doesn't quite mesh with your work? Let's delve into the reasons why this might be happening.
Often, photographers marketing their presets overlook a crucial element that contributes to the unique look of their photos with that preset - the lighting conditions and the location. These factors can significantly vary and influence the outcome of a preset.
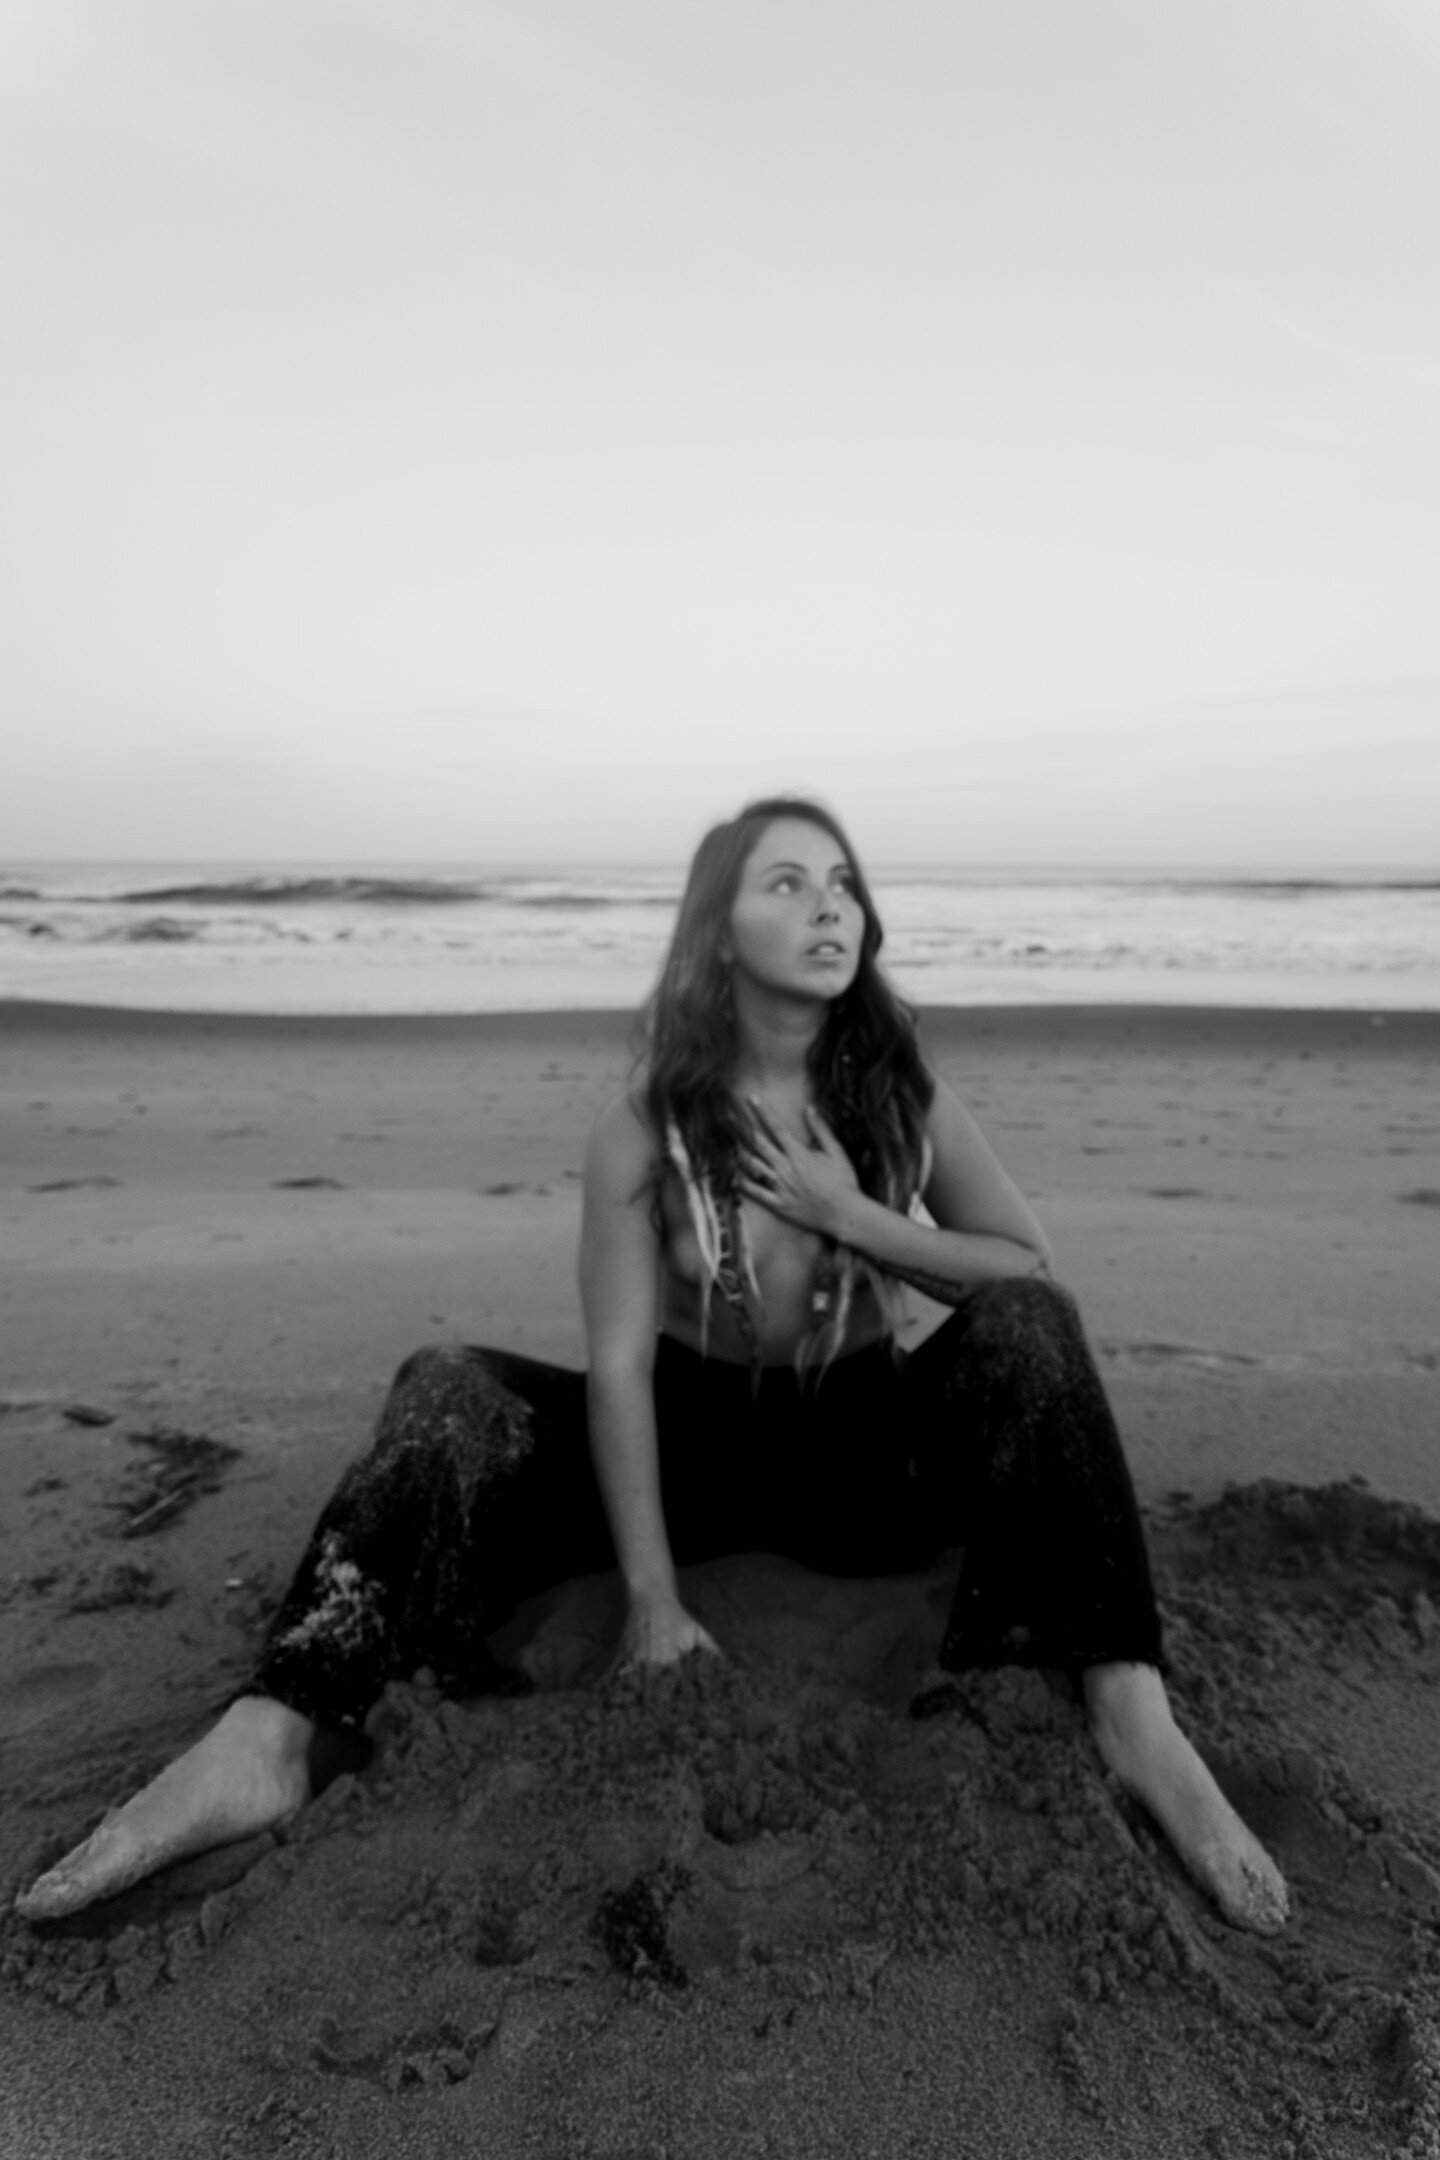
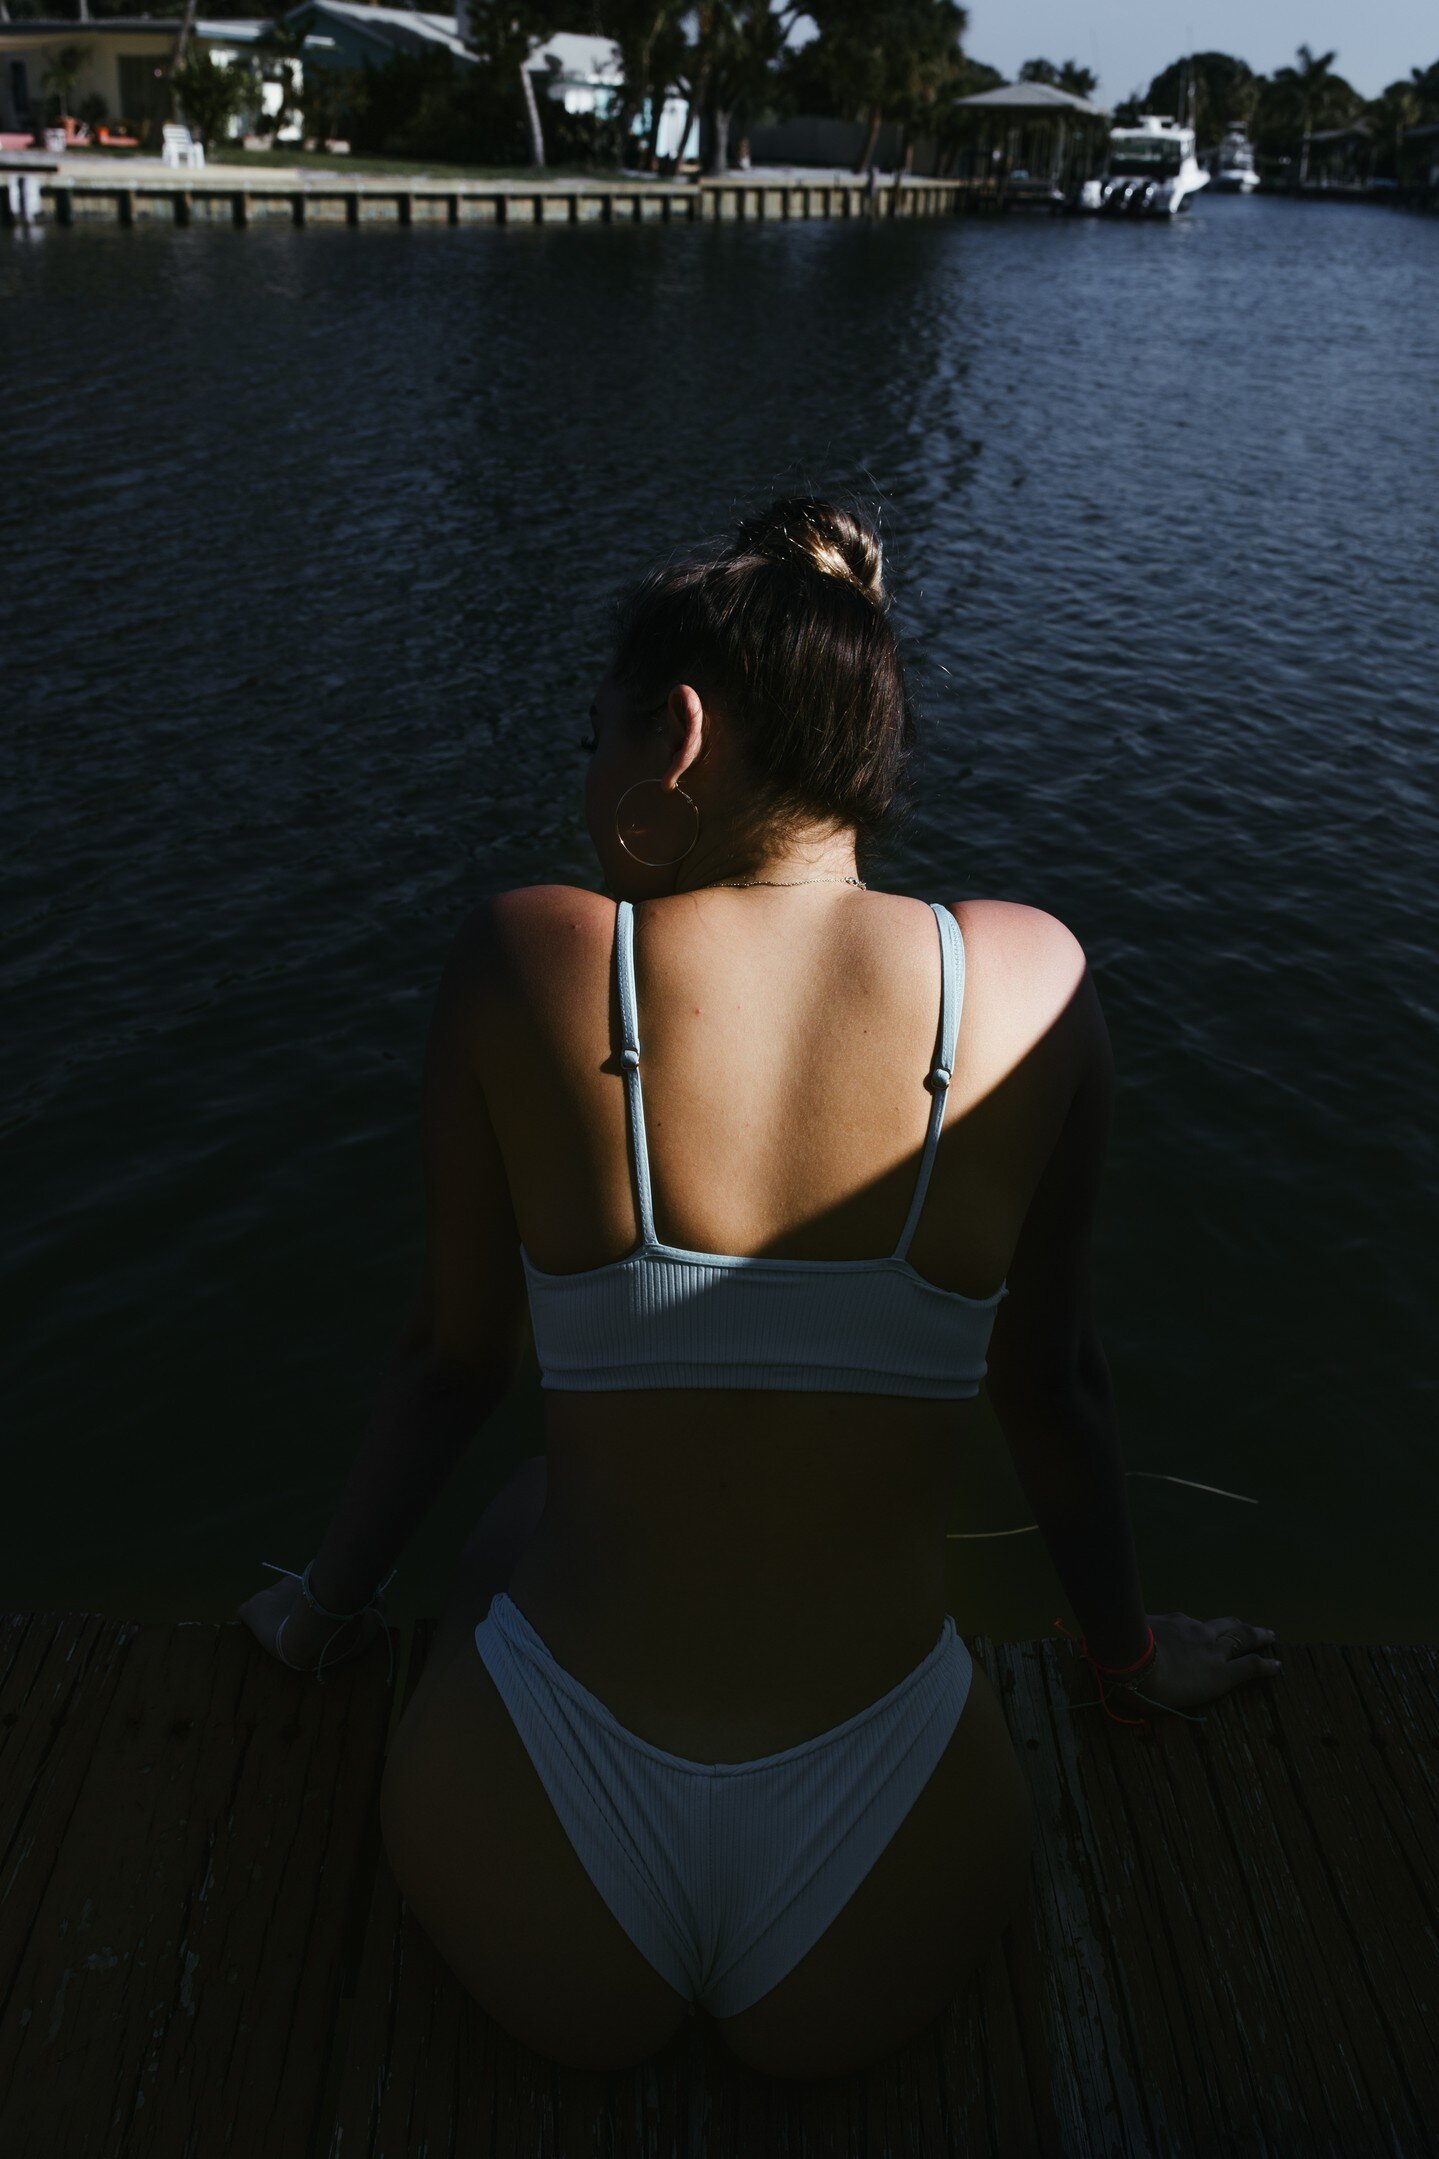
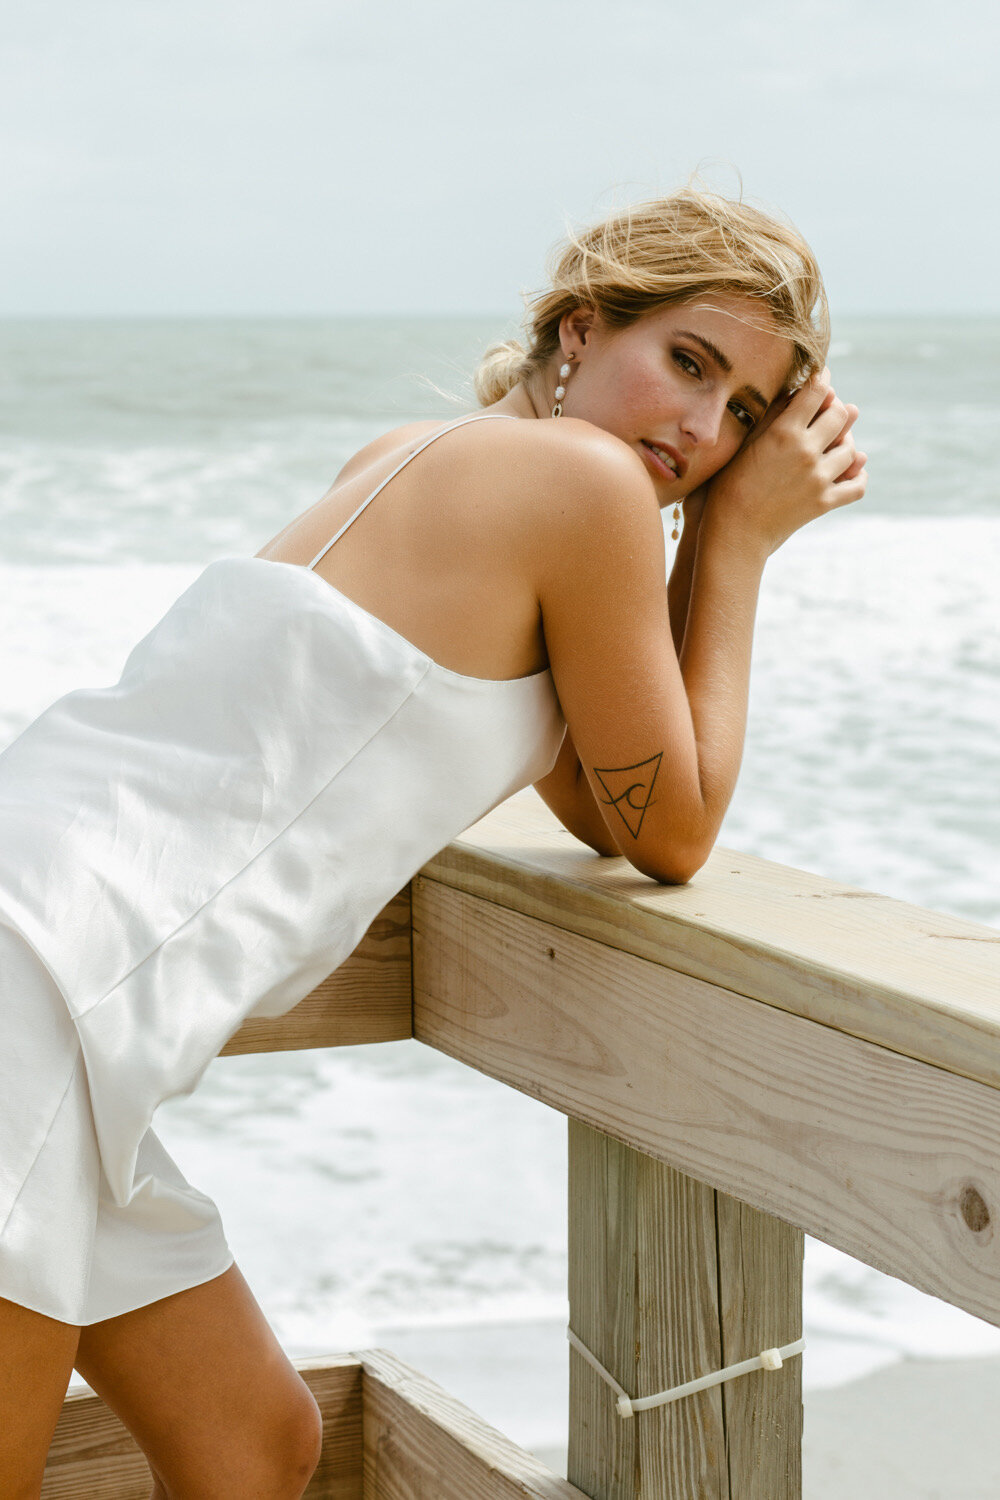
For instance, I once procured a preset from a California-based photographer. Despite living in Florida, where the light is inherently different, I hoped to achieve similar results. He frequently captured beach shots, much like I do, but the orientation of the sun during his shoots was different due to geographical location. His subjects were often backlit by the warm sunset over the ocean, while my subjects typically faced the warm sunlight, with the ocean behind them. This difference in lighting conditions can significantly affect the colors in your photos.
Location is another factor to consider. If you purchase a preset from a New York-based photographer, who often shoots in overcast conditions amidst towering buildings, and you're based in a sun-drenched desert, the results will be drastically different. Unless you're shooting in open shade or city environments, the preset might not work as expected.
Lastly, the type of camera used can also influence the outcome. Different cameras can lean towards different tints when uploading Raw images to Lightroom. For instance, Canon's Raw images often lean towards the blue side, requiring additional yellow for balance. In contrast, Nikon images tend to be warmer, leaning towards red or pink, and might need a touch of green.
It's also important to remember that presets are not a one-click solution to perfect photos. They are starting points that often require further adjustments and fine-tuning to achieve the desired look. It's rare that a preset will provide a finished image without some level of tweaking. The adjustments could be as simple as altering the exposure or as complex as modifying color balances.
So, before you apply a preset, consider the lighting conditions in which you usually shoot. Examine the lighting in the before images for the preset. Are they backlit, in open shade, sidelight, indoor, outdoor, or studio shots? Photographers often develop their presets based on their preferred shooting conditions and locations. Therefore, if a photographer frequently shoots in desert conditions and you're in a lush jungle, the preset may not yield the same results.
Remember, understanding these nuances can help you make the most of your presets and ensure they enhance your unique photography style. Presets are tools to assist you in your creative process, not to replace it.

Hey, I’m Vania! I create compelling visual imagery that harnesses artful aesthetic and creativity to help elevate brands that want to connect to their audience in an authentic way <3
Follow me on the gram!